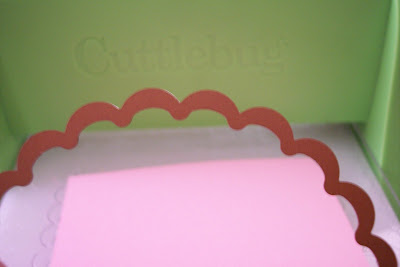
Cutting.
Making the correct sandwich.
Start out with the A plate.
 Add the B plate.
 Add a sheet of paper big enough for the chosen size.
One side had a raised ridge, which will cut the paper.
 The other side is smooth and flat.
So now you will be looking at the paper and the smooth side.
 Now your ready to run the sandwich through. You
may hear a little cracking noise, that's common.
Be careful that you don't move it around too much so the Nestie
stays in place. You could tape the Nestie to the paper on the sides.
 Now your ready to run the sandwich through. You
may hear a little cracking noise, that's common.
The scrap of the extra paper will just pop off.  Add the B plate.
 Pick up your precut shape with the Nestie still together.
  Add the tan mat over the whole shape.
 Add B plate to stack.
 Run it through the Cuttlebug.

 Here is what it will look like.
 The paper will pop out with a little push.
 Here is what you end up with, a beautiful embossed shape.
 I hope this picture tutorial is helpful. My son and I had alot of fun making it. I was told that the Cuttlebug Alphabet will not work this same way, I don't know because I don't have it yet. I have only run Nestabilities as stated and it turns out great everytime and doesn't harm the Nesties. I'm not a demonstrator just an ordinary person. Use at your own risk. Thanks for watching and enjoy...

Keep the shape in the Nestie, set it aside.
cutting to embossing I just leave the A and B plate
together on the Cuttlebug machine.
 Add the B plate.
 Pick up your precut shape with the Nestie still together.
 Place it on the stack as shown here.
 Add the tan mat over the whole shape.
You may add more or take away some if the sandwich is too
loose or tight. If your embossing isn't showing up very much
you may have to add a piece or two of cardstock to the stack.
 Add B plate to stack.
 Run it through the Cuttlebug.
 Here is what it will look like.
 The paper will pop out with a little push.
 Here is what you end up with, a beautiful embossed shape.
 I hope this picture tutorial is helpful. My son and I had alot of fun making it. I was told that the Cuttlebug Alphabet will not work this same way, I don't know because I don't have it yet. I have only run Nestabilities as stated and it turns out great everytime and doesn't harm the Nesties. I'm not a demonstrator just an ordinary person. Use at your own risk. Thanks for watching and enjoy...


